


In this article I will show you how to mount a network drive for Jellyfin inside an LXC container on Proxmox. This way you can access an external hard drive connected to your router from within a Proxmox LXC container running the Jellyfin media server.
This setup requires three steps.
- Set up SMB file sharing on your server/computer/router
- Mount the share in Proxmox
- Access the shared folder inside your Jellyfin LXC container
Set up the SMB share
Depending on the device you use, this can be done in different ways. For this demo I will use a Proxmox virtual machine with Windows Server 2022 and an attached external USB drive.
Connect the external hard drive with your media files to a USB port on your server.
Sign in to Windows → right-click the USB drive → Give access to → Advanced sharing settings → Advanced Sharing → check Share this folder and enter a network share name of your choice → Permissions → check Full Control for everyone or specific users, then apply the changes.

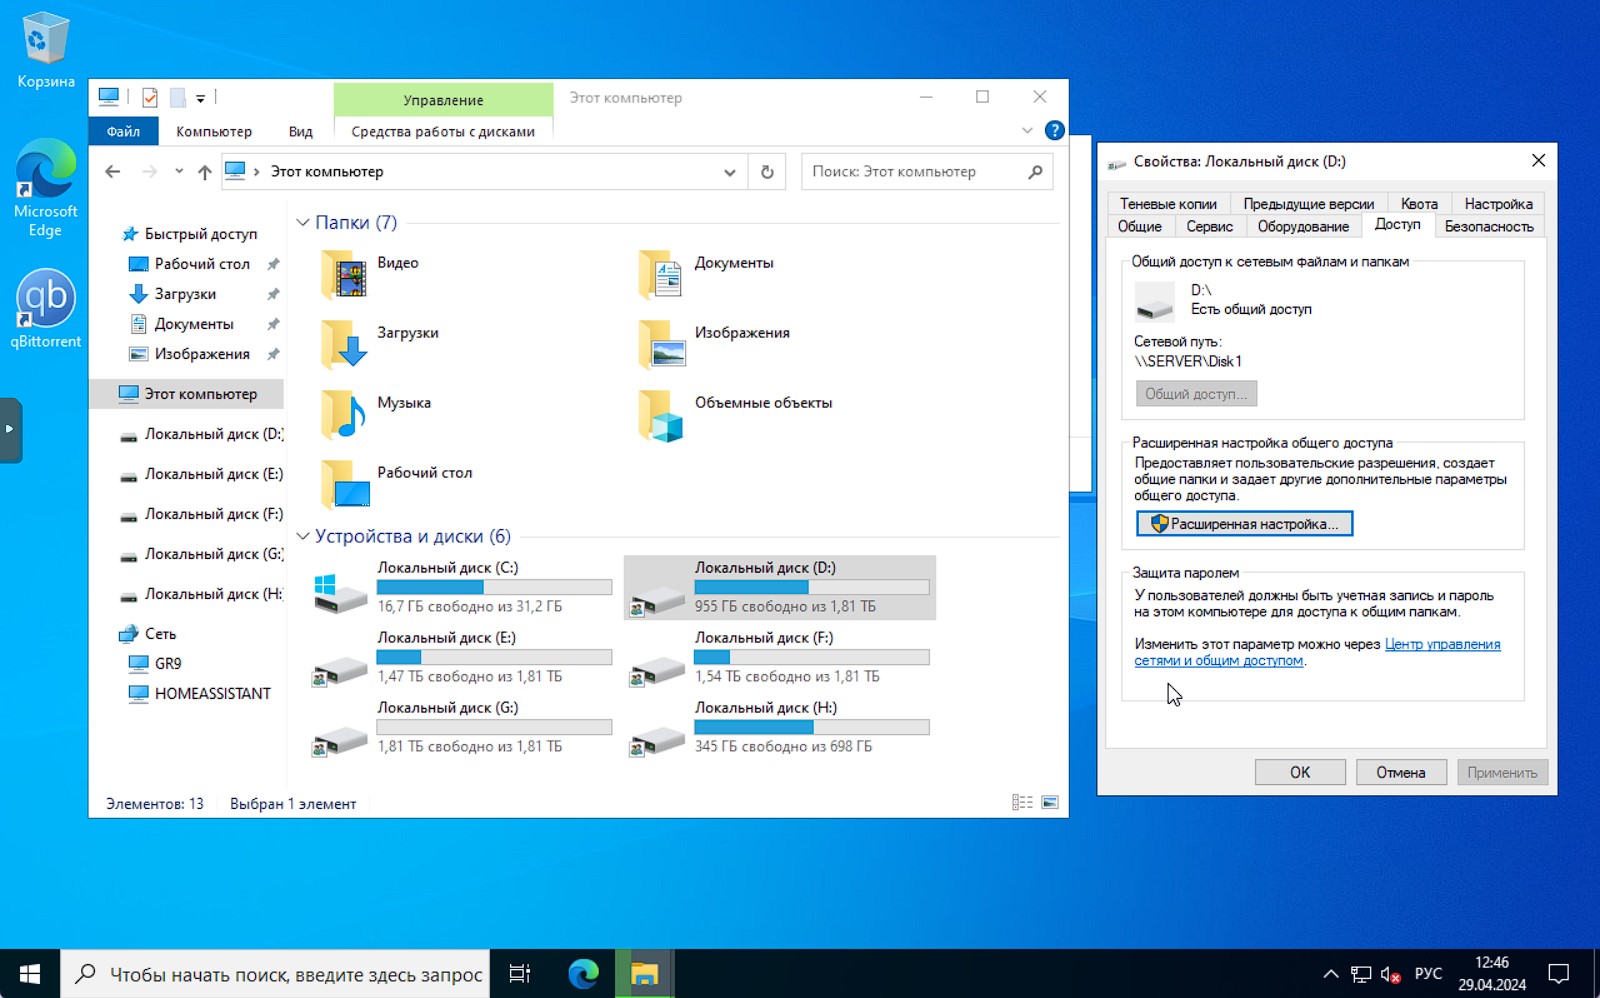
On your Windows PC, go to Network and enter the IP address of the SMB media folder. For example: 192.168.0.1Disk1Movies.
Mount the SMB drive in Proxmox
Sign in to your Proxmox web interface, select the required node, and open a Shell session.
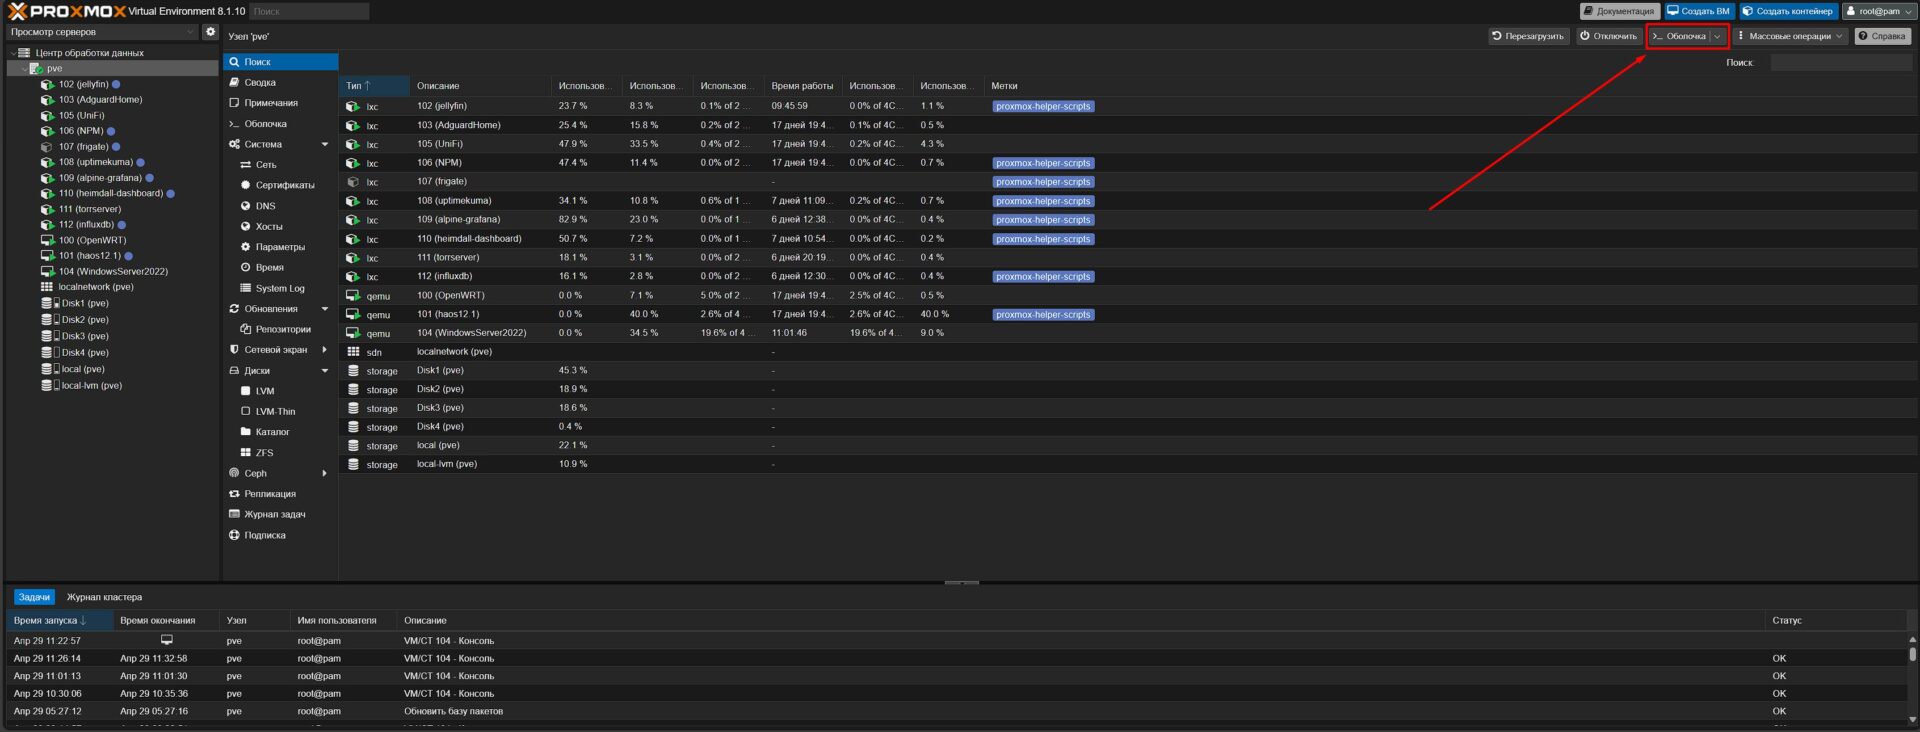
In the command-line window, run the following command to install the CIFS utility packages.
apt install cifs-utils -yAfter installing cifs-utils, run the following command to create a shared folder in the media directory.
mkdir /media/shareNext we need to create a file that will store the credentials for logging in to the SMB share. We will use the nano text editor by running this command.
nano ~/.smbEdit the file and add the following lines. Change smb_username and smb_password to the username and password of your SMB share.
Press CTRL + X, Y to save, then Enter.
Next we need to edit the system file called fstab.
nano /etc/fstabAdd the line below to the fstab system file.
192.168.0.1Disk1Movies /media/share cifs credentials=/root/.smb,users,rw,vers=3.0,iocharset=utf8,file_mode=0777,dir_mode=0777 0 0Press CTRL + X, Y to save, then Enter.
For the last step, you need to mount the drive.
mount -aYou have successfully mounted your SMB share on Proxmox. Next you need to configure Proxmox to use this share.
Still in the Proxmox interface, select Datacenter → Storage → Add
Enter the desired storage name in the ID field, then set the directory path for the mount that was configured earlier. In this case it will be /media/share.
In the Content drop-down list, choose what the drive should be used for. You can select Disk image and Container, or select all, then click Add.

Add the SMB drive to the Jellyfin LXC container
If you do not have Jellyfin installed in a container yet, use the Proxmox script at this link to automatically create and install Jellyfin in an LXC container.
After installation, shut down the Jellyfin container, select your node, and open a new SSH session in Proxmox (Shell).
Add the share to the LXC container.
cd /etc/pve/lxc/

ls
You will see a list of all available containers. You need to edit the Jellyfin container. To open the file, enter the following. (102 is my Jellyfin container)
nano 102.confWhen the file opens, scroll to the end and add the code below to mount the shared folder.
mp0: /media/share,mp=/mnt/Press CTRL + X, Y to save, then Enter.
Select the Jellyfin container and start it. You need to check whether the drive was mounted successfully. Open Console and run the following commands.
cd /mnt
ls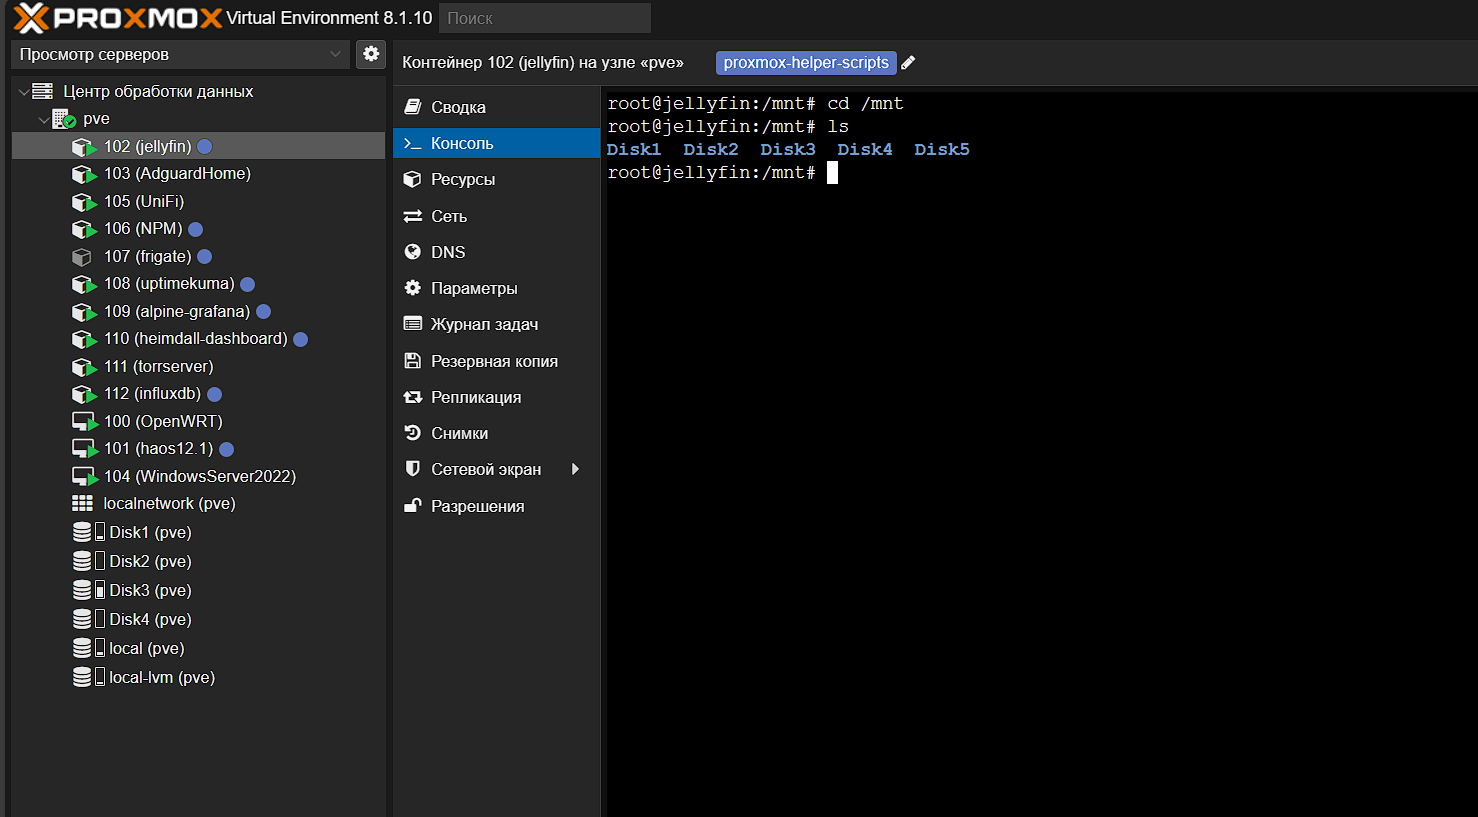
If everything went well, you should see the folders on your network drive.
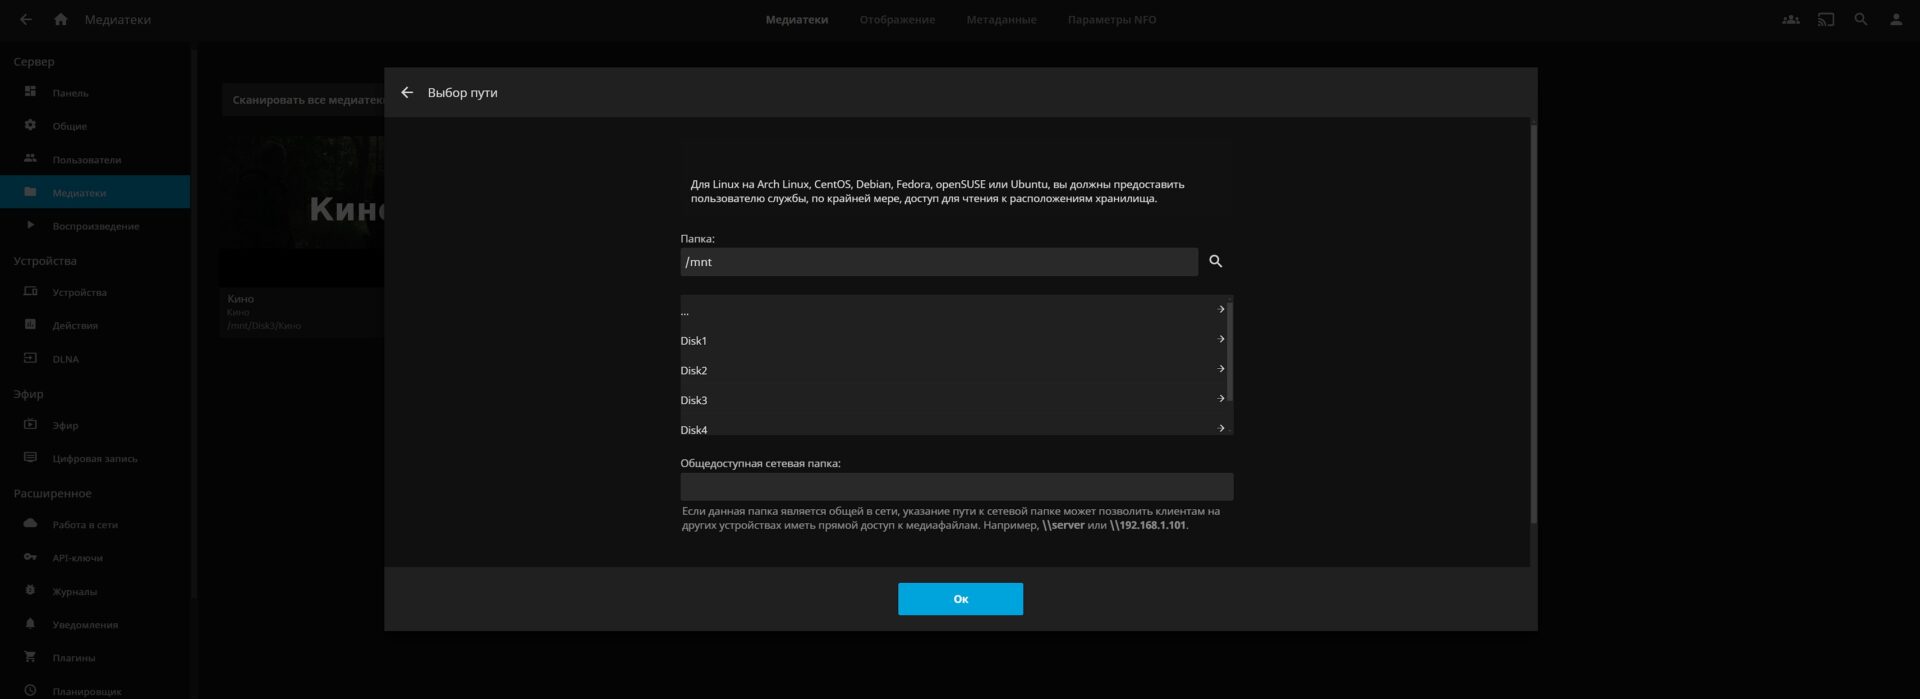
Sign in to Jellyfin through the web interface and go to Settings → Dashboard → Libraries → Add Media Library → Folders → /mnt; you should now see your media folders.
My code in the 102.conf file mentioned above looks like this (example):

That concludes the process of mounting a network drive for Jellyfin in an LXC container on Proxmox.
If you have questions, please contact me through the comments section below.
No email, no trackers — just the update feed.
Russian feed
https://en.kiberlis.ru/feed/